
Apple Pie Jelly
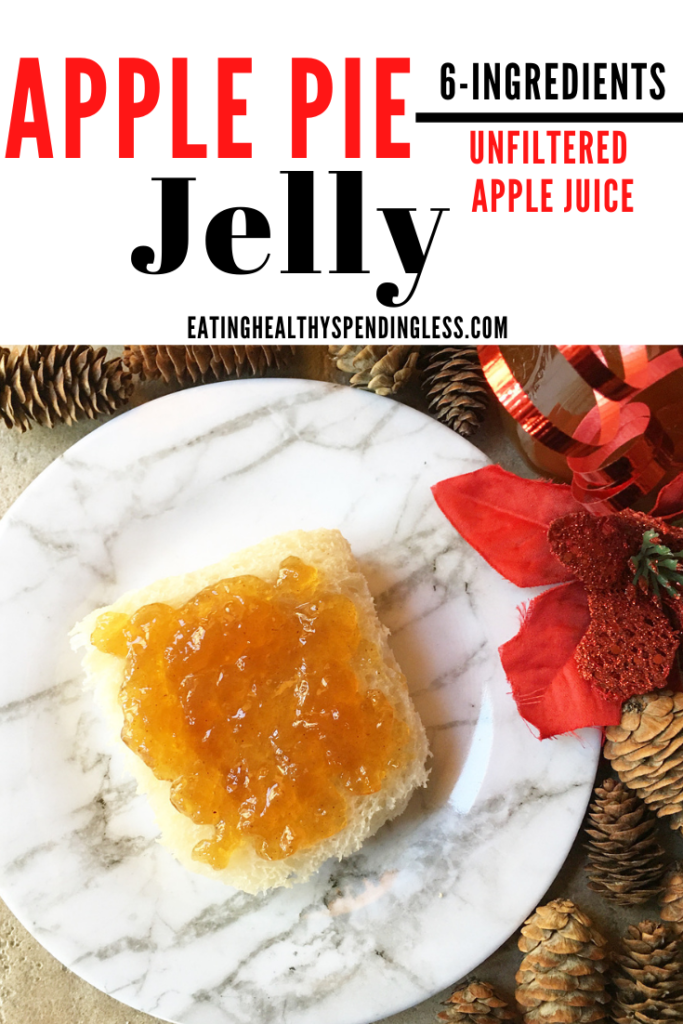
Apple pie jelly is one of the most delicious and decadent jellies you can eat, and it’s so cheap to make! I am very excited to bring this recipe to you, and I will also explain how I process the jars to can them.
If canning is too intimidating for you, still make the recipe. You can make the recipe and store the jelly in the refrigerator for 1-2 months, or gift it to others. Don’t ever let the process of canning scare you from making homemade jelly; it’s easy, cheap, and anyone can do it.
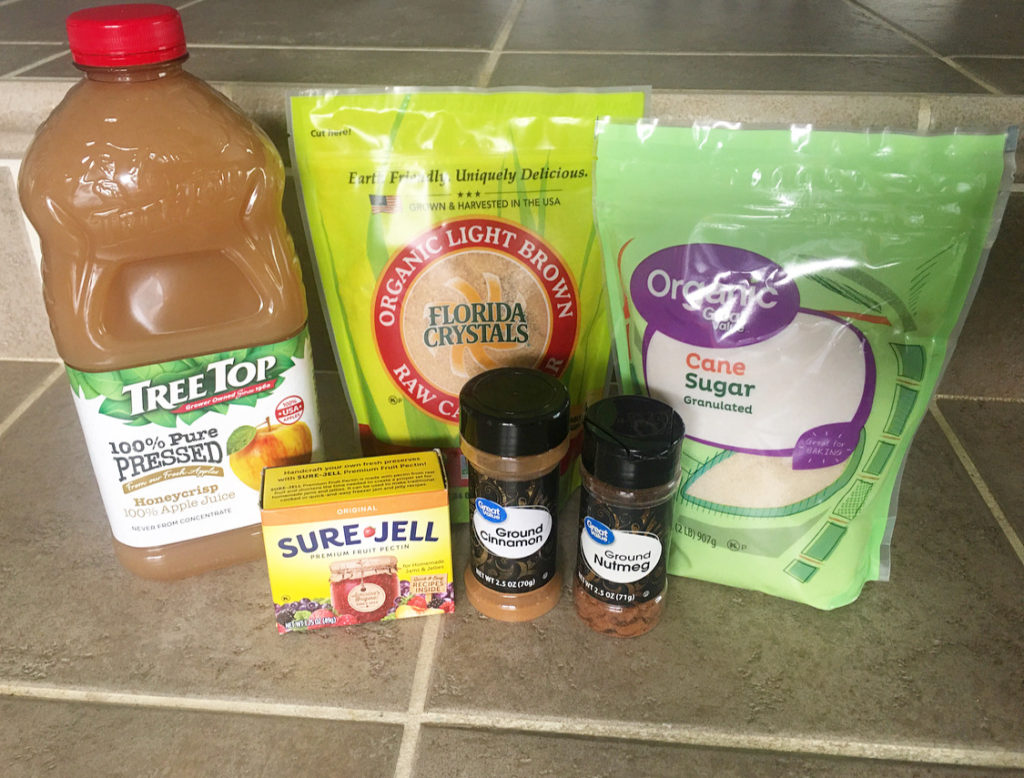
Ingredients Needed
- Unfiltered apple juice (Trader Joe’s or Tree Top are my favorite brands)
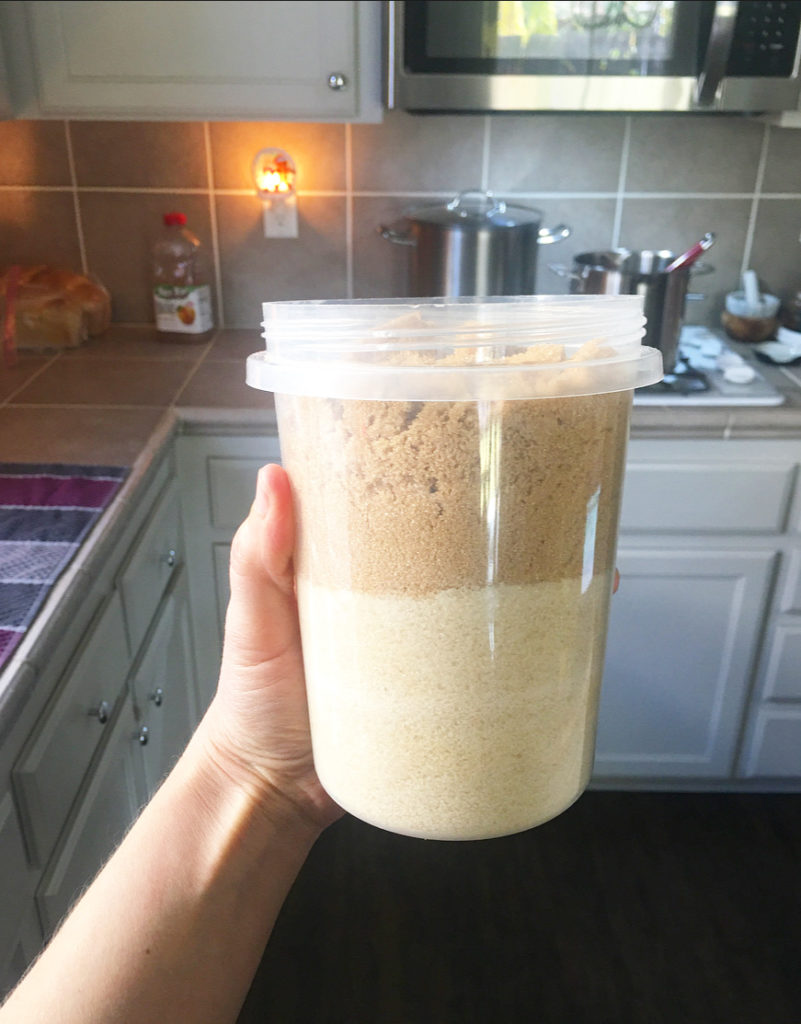
- Cane sugar (I prefer organic)
- Light brown raw cane sugar
- ground cinnamon
- ground nutmeg
- pinch of salt (optional)
- 1 package of SURE JELL original
I bought all my ingredients at Walmart, and was able to make a double batch using these ingredients. I had 2 packages of SURE JELL. 1 recipe will give you exactly 6 (8oz) jars of jelly.
Yes, I Use Real Sugar
When it comes to jelly making, I use sugar. I try to buy the best quality of sugar that I can buy when making jelly, and I never bake or cook with regular sugar in any of my other recipes. However, when it comes to jelly making, I use sugar. I prefer using a natural cane sugar, as it has less processing and isn’t bleached.
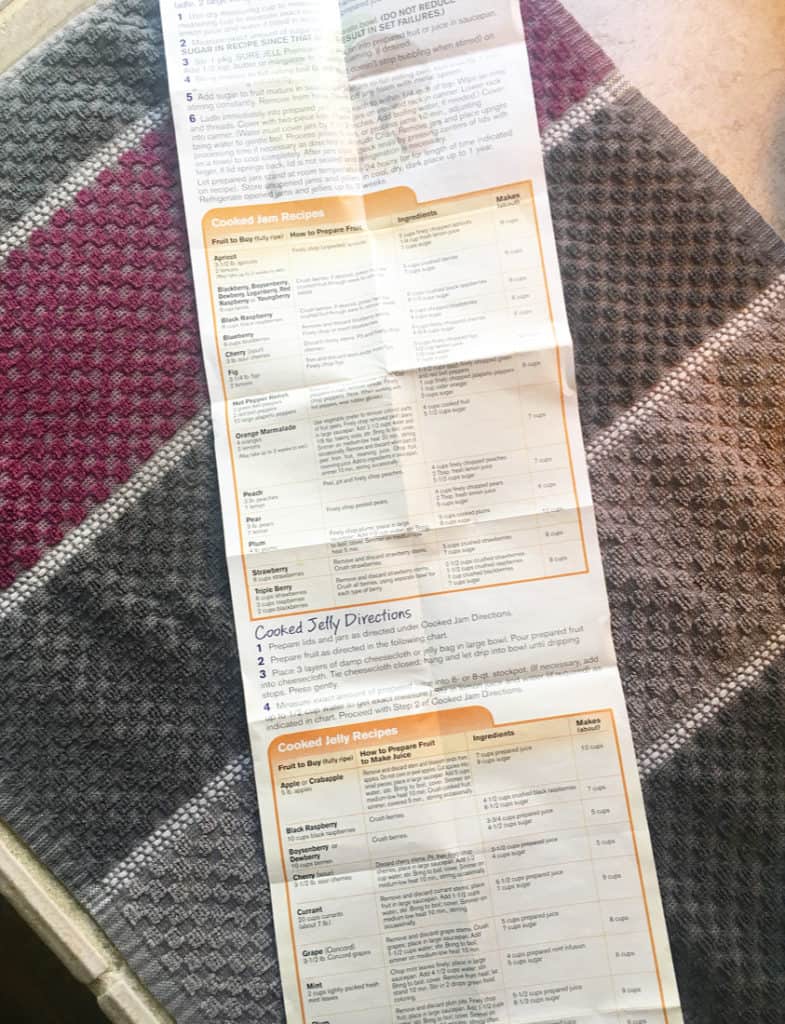
There Is No Fancy Method – I Use SURE JELL Instructions
Always read and follow the pectin instructions on the box. SURE JELL has very straight forward instructions. I have used other brands as well, and their instructions are slightly different. Whatever brand you use, follow their directions. The ingredients that I give you, however, follow them! Do not change my ingredients list or measurements for apple pie jelly! The method of making the jelly, though can be changed depending on the brand of pectin you use.
Equipment Needed For Canning
- canning funnel
- magnetic lid lifter
- jar lifter
- large stock pot
- dutch oven or large soup pot
- small saucepan
- canning jars and lids/rings
- dish towel
- hand towel
A canning kit will give you the biggest bang for your buck. In this kit I listed above, there are some other tools that I don’t use that are included. I just learned about a “bubble popper…” Very cool, and very unnecessary! LOL
How To Process Jelly
The process of canning jelly is like spinning 4 plates at one time. The first time I ever made jelly I was so scared that I was going to mess it all up. Now that I’ve made jelly, I could do it blind-folded! It’s really not difficult at all, but you do have to follow a process.
Step 1:
Pull out the glass jars you will be using and put them in the dishwasher. This is the best way to sterilize your jars, and you can turn your machine on and walk away! I put my dishwasher on quick wash with heated dry. This takes exactly 45 minutes.
Step 2:
After about 15-20 minutes of your dishwasher running, fill your large stock pot with water. I fill mine up about 2/3 of the way. Put the lid on and start heating the water. Buy the time you’re ready to process your jelly jars, you want this water to be boiling.
Step 3:
Fill your small saucepan with water, about 1/3 of the way full. Place your canning lids in the water, bottoms up. Turn your burner on the lowest setting, and just let the lids simmer in warm water.
Step 4:
When your dishwasher has about 15 minutes left, start making your jelly. Once the jelly is made, the fun begins!
Step 5:
Carefully remove your jars from the dishwasher (they should be hot!), and put your funnel in the jar to fill them up. You want to leave about 1/4 inch gap between the jelly and the top of the jar.
Step 6:
Carefully remove the funnel and place it on the next jar. Wipe the rim of the jar to make sure no jelly spilled over. Then, take your magnetic lid lifter, and pull 1 of the lids out of the water. Gently give it a little shake (without it coming off the magnet), and place it on the jar. Secure a ring around the jar and use a hand towel to firmly secure it (everything is hot!).
Step 7:
Remember to work quickly! After all jars are filled and secured with a lid and ring, use your jar lifter and lower the jars into your large stockpot filled with boiling water. I can fit 5 jars in mine, but just make sure no jars are touching.
Step 8:
Put the lid on the stock pot and set a timer for 5 minutes. Walk away and DO NOT EVER LIFT THE LID while processing.
Step 9:
When the timer goes off, DO NOT LIFT THE LID. Turn the burner off. Gently scoot the large stock pot over to a burner that is not on. Set your timer for an additional 5 minutes and walk away.
Step 10:
Now you can lift the lid and carefully lift the jars out of the water. Place the jars on a dish towel and listen to them as they start POPPING! This may happen right away, or may take several minutes!
The popping sound insures that the lids are secured to the jars. If you never get a POP, then your jars did not process correctly. Your jelly is still good! Just place the jars in the refrigerator and use within a month of two.
Apple pie jelly will last in your pantry for 6-8 months, maybe even longer.
Other Recipes You Might Like:
- Pumpkin Breakfast Bars
- Plant-Based Gluten-Free Biscuits
- Honey Throat Pops
- No Bake Cookies (HEALTHY)
- Warm Rice Cereal
Apple Pie Jelly
Ingredients
- 3 cups unfiltered apple juice
- 1/2 tsp. cinnamon
- 1/4 tsp. nutmeg
- pinch of salt (optional)
- 1 box SURE JELL, original
- 3 cups natural cane sugar
- 1 cup natural cane brown sugar
Instructions
- *I follow the recipe on the SURE JELL package. Whatever brand pectin you use, make sure the follow their instructions.
- In a large soup pan, add apple juice, cinnamon, nutmeg, salt (optional), and SURE JELL pectin. Whisk all ingredients together. Turn the burner on medium high, and frequently whisk the ingredients.
- Once the apple juice mixture comes to a rolling boil (when whisked the boiling cannot be stopped), add all the sugars. The boiling will stop at this point. Whisk the sugar into the juice mixture.
- Continue whisking frequently. Once the jelly comes to a full boil again, set a timer for 1 minute. Whisk gently the entire 1 minute. Turn the burner off, and carefully pour the jelly into your jars using a funnel.
- If you're canning the jars, use the processing method listed above. If you are not processing the jars, allow the jelly to come to room temperature before placing in the refrigerator.
- If you process the jars, give the jelly 2-3 days to fully set up. If you put it in the refrigerator, it will set up within an hour or so.